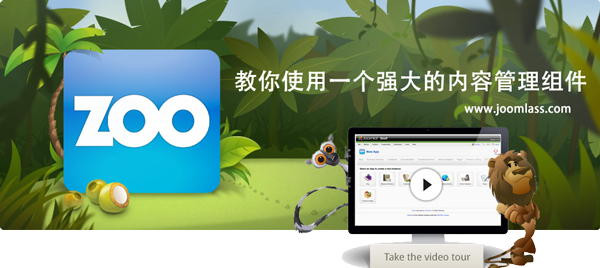
本节我们学习如何在ZOO中创建一个新的文章类型,你将要学习如何添加一个元素到类型中并且管理它们在网站模板中显示的位置.
创建类型并添加元素到类型中
登录的Joomla管理后台,打开ZOO组件管理。点击最后面的齿轮行政图标,将看到所有已经存在的APP场景应用。随便点击选择一个应用,将出现创建类型界面。
接下来你看到了所有已存在的类型列表,这些类型来自这个APP应用. 要创建一个新的类型,在左上方点击 New 按钮.
给这个新类型定义一个名字,并点击左上方的 Save 按钮
你可以看到,你创建的新类型出现在下面的列表中了.现在我们要添加一些元素到这个类型中去:鼠标放在类型名称上面,会出现Edit Elements 点击它就可以编辑元素了。.
现在,你看到窗口左侧区域是空白的,因为还没有任何元素被创建。在右侧,你可以看到各种类型的元素。它们被分组显示Form \ Social\ Medai。。。.
To add a new one to the type, choose the element you want to add from the list of available elements on the right side and simply click on it. The element will automatically be added to the list on the left, ready to be configured. Please see our tutorials for the elements to see the different configurations of each element.
The order of the elements on the left is the order they appear when you create an item of this type. So if you not want to have the new added element right on the top of the list, you can change it very easily. Just move your cursor over the small brick icon in front of the element and drag & drop the whole element to its new position. Very easy. By clicking the small pencil icon next to each used element, a small form slides out and you can configure this element and of course you can delete an element by clicking the small delete icon next to the pencil icon.
After you've set up the type, click on Save in the top right corner. Now you can create new items of the new type but to show the items to your visitors in the frontend of your site, you have to assign the elements to their layout positions.
在中国六翼专注Joomla建站与策划设计,为您的品牌发展创造动力!


